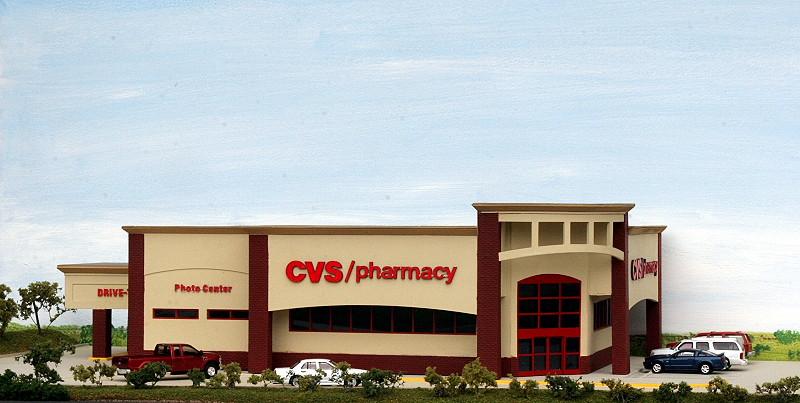
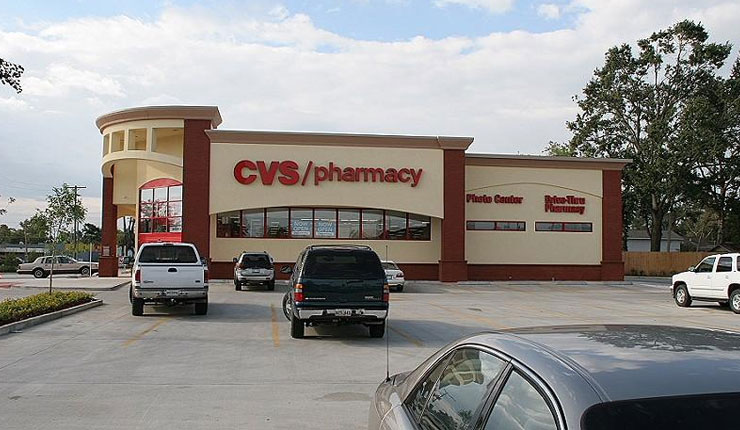
I thought it might be interesting for you as a modeler to know how a building kit is born. It takes a lot of time to get from pictures of a building to a finished product. As the example I used the development of the CVS Pharmacy. It took several months from the first pictures were taken until the finished model could go into production.
In the spring of 2007, CVS built a new pharmacy here in Lake Charles. When I saw it finished I knew I had to make a model of it because of the interesting architecture that makes it so easily recognizable.
I also knew it had a limited appeal to a big part of the modeling audience because of it’s size (and price, which is directly linked to the size and detail level), but I decided to make it anyway.
To get all the information needed to make a model, you have to take a lot of pictures of the prototype from all angles and some close-ups of details. It is important to have a measuring reference in most of the pictures, so I try to have a door in most pictures if possible. A door is always 7′ high so it is a perfect reference.

Back home in the office I print out all the pictures on paper in black & white and start measuring with a ruler, a digital caliper, and a calculator.

At the same time I start the process of figuring out the shape of the individual parts and how they should go together, sketching it on paper.
The building parts are drawn on the computer using AutoCAD. Once all the parts are drawn, they are divided into several new files, one for each material type and thickness.

The files for each material types are now transferred to the PC, which runs the milling machine, and converted into a format the machine can understand. At the same time all the cutting parameters are defined, such as cutting depth, tool size, if the cuts are inside or outside contour, cutting order and direction of the cut.

Finally the first parts are cut. The pictures above show the parts outline on the screen and the cutting of the clear acrylic for the window glazing.

All parts for the new model are cut and will be laid out in the same pattern they go together. A picture for use in the instructions documents every step of the assembly.

To create the necessary details, some models are supplied with Plastruct sheets or other materials purchased from other manufacturers, in this example it is a brick sheet cut to fit the columns. Other kits may have metal siding or shingle roofing materials.
When the kit is assembled, except for window and glazing, it is painted in the spray booth.

Parallel to the test assembly, decal sheets and bag labels are created. Decals are in most cases made from pictures of the actual logos, signs or window posters and laser printed on self-adhesive paper labels.
Finally, windows and glazing are mounted and sign & decals added.


